Step-by-Step Installation Guide: Properly Applying Large Heat Shrink Tubing for Maximum Durability and Protection

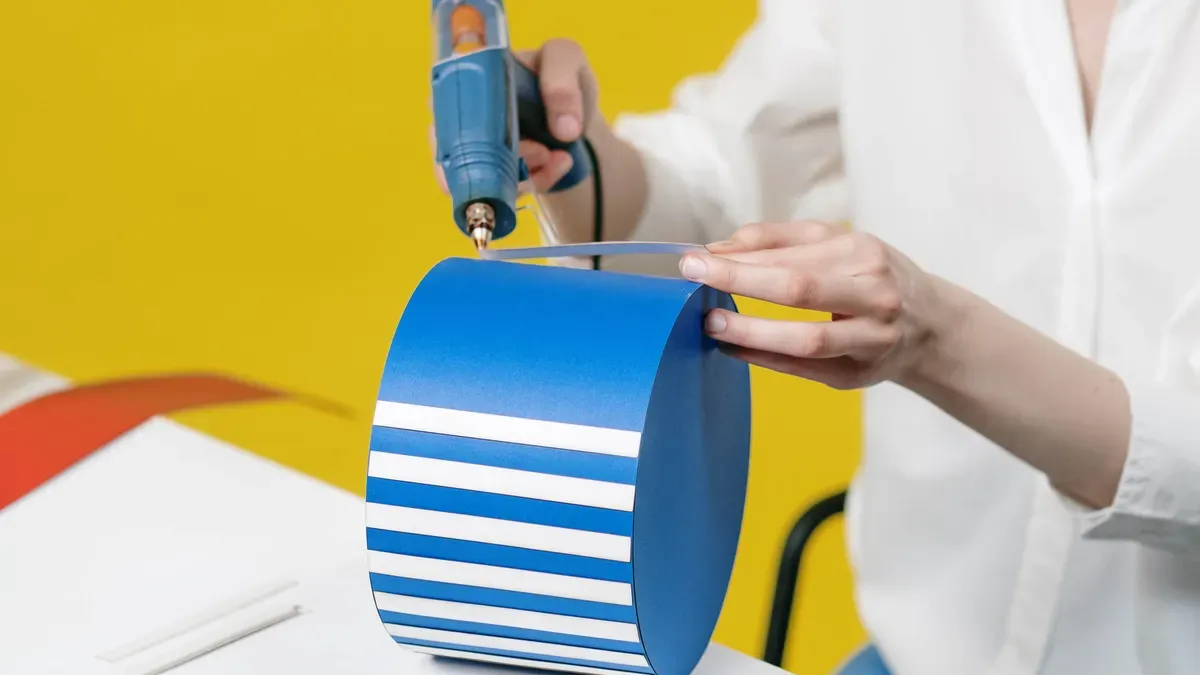
Many large heat shrink tubing installations fail because you miss important steps. Common mistakes are skipping the cleaning process or applying heat unevenly. This guide shows the key steps for a successful tubing installation. Measure the widest part of the cable first. This makes sure the tubing fits tightly. Cut the tubing so it goes past the connection on each side. A dirty cable stops the adhesive from sticking properly. Clean the cable with a recommended solvent. Apply heat starting from the center and moving outward. Move the heat gun steadily. The proper temperature makes an even seal. By doing these exact steps, you get a strong, waterproof seal. Your heat shrink tubing will give the best durability and protection.
Key Takeaways
Measure the widest cable part and choose tubing with a smaller recovered diameter for a tight fit.
Clean the cable with isopropyl alcohol before installation to help the adhesive stick.
Start heating from the center and move outward to push air out and stop bubbles.
Set your heat gun between 250°F and 350°F and keep it moving for even shrinking.
Cut tubing at least one inch past each side of the connection for full coverage.
Choosing the Right Heat Shrink Tubing Size and Material
Measuring Cable Diameter and Selecting the Correct Shrink Ratio
Before you buy any heat shrink tubing, you must measure the largest diameter of your cable or component. This one step stops most fit problems from happening. Use calipers to get the most accurate reading. A standard ruler works if you do not have calipers. Measure both the largest and smallest parts of a cable or bundle that has an irregular shape. For irregular shapes, measure the widest point of the wire, cable, or component you want to cover.
Pick the right size by choosing tubing whose fully recovered diameter is a little smaller than your smallest measurement. The expanded inner diameter should be about 25% larger than the largest measured part. This lets the tubing slide over the assembly easily. The recovered diameter must grip the smallest part tightly after shrinking.
The shrink ratio tells you how much the tubing contracts. A 2:1 ratio shrinks to half of its original diameter. A 3:1 ratio shrinks to one-third. A 4:1 ratio shrinks to one-quarter. For minimal diameter variation, 2:1 tubing is enough. For moderate variation, choose 3:1. For extreme size differences, you need 4:1 tubing. Higher ratios fit over larger or more irregular objects and then shrink tightly.
Cut the tubing so it extends past the connection on both sides. This overhang makes sure the splice or joint is fully covered. A shorter cut leaves exposed areas that fail under stress.
Understanding the Benefits of Using Heat Shrink for Large Cables
The benefits of using heat shrink for large cables go far beyond simple insulation. Adhesive-lined heat shrink tubing creates a waterproof, vibration-resistant seal. It bonds to enclosed wires and fills gaps. This stops moisture from getting in, which makes it ideal for harsh conditions. The benefits of using heat shrink also include superior mechanical protection. The tubing forms a tight conformal layer that defends against abrasion, minor impacts, and cuts. The benefits of using heat shrink extend to electrical insulation as well. It insulates against electrical currents and prevents short circuits. High-temperature variants offer thermal protection too.
Material choice affects performance. Polyolefin is the most environmentally friendly option. It is non-toxic, non-corrosive, and recyclable. Polyolefin is much more flexible than PVC or PTFE tubing. It stands up to harsh environmental exposure and rigorous daily use. PVC offers excellent flexibility and chemical resistance at lower cost. However, PVC has lower temperature tolerance. Fluoropolymer tubing, particularly PFA, endures temperatures from -200°C to +260°C. It provides extreme chemical resistance for pharmaceutical, biotechnology, and aerospace applications. Elastomer tubing offers exceptional heat resistance, flexibility, and durability under mechanical stress. It resists a wide range of chemicals but costs more than alternatives.
Material | Durability | Flexibility | Environmental Resistance |
|---|---|---|---|
Polyolefin | Excellent abrasion resistance; highly flame retardant | Highly flexible | Excellent chemical resistance; wider temperature range than PVC (>105°C) |
PVC | Limited to 105°C; lower cost | Excellent flexibility | Good chemical resistance; lower temperature tolerance |
Fluoropolymer | High flame resistance; 40% thinner walls than most polyolefin; up to 135°C | Less flexible than polyolefin | High flame resistance; excellent chemical and temperature resistance |
Elastomer | Durable under mechanical stress | Flexibility at low temperatures | Resistant to most fluids and solvents |
For heat shrink for large-scale applications, think about environmental conditions. Moisture, chemicals, and physical abrasion all affect material choice. Heat shrink for large-scale applications often requires 3:1 or 4:1 ratios. Heat shrink for large-scale applications in marine or industrial settings benefits from adhesive-lined tubing. Your installation will succeed when you match the tubing to the job.
Step-by-Step Process: Steps for Using Heat Shrink Tubing
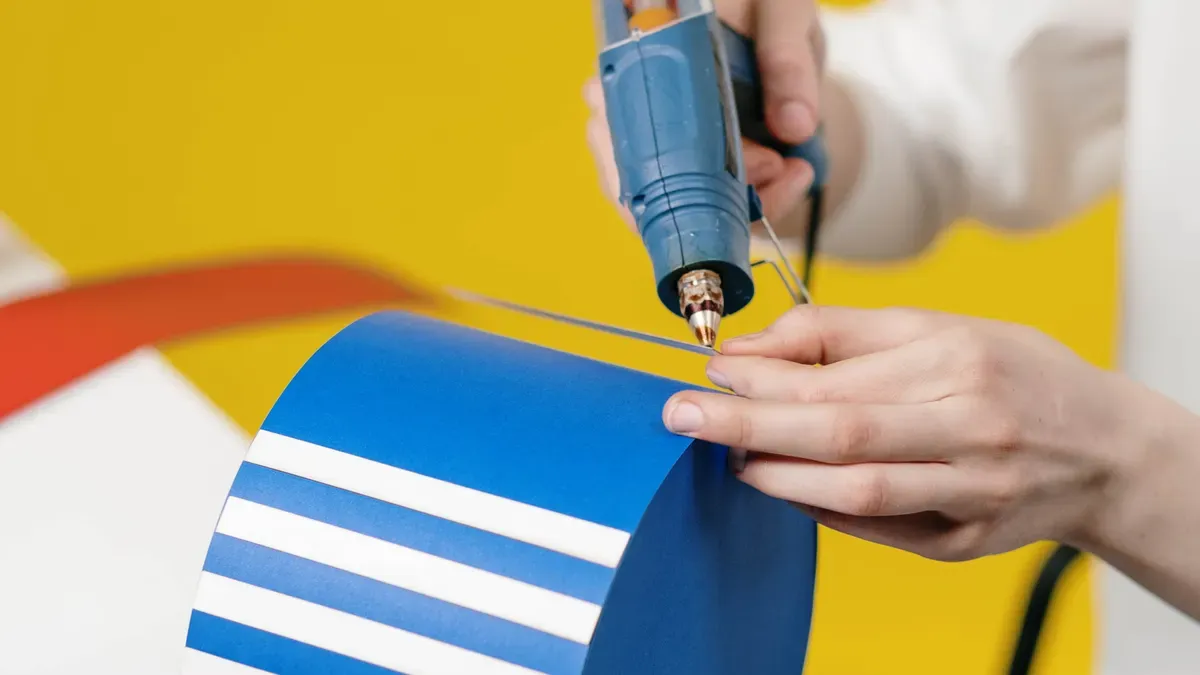
Preparing the Cable for Installing Heat Shrink Tubing
Good preparation is the base for a seal that lasts. You must clean the cable surface before you slide the tubing on. Dirt, grease, and moisture stop the adhesive from sticking right. Use a recommended solvent to wipe down the whole area. This step removes oxidation and contaminants that make adhesion weak. Let the surface dry all the way. Any solvent left behind can trap vapors under the tubing.
Check the cable for sharp edges or burrs. These can poke through the tubing while it shrinks. File down any rough spots before you go on. Cut the tubing to length with a sharp blade. Add extra length to make up for shrinkage along its length. This extra material makes sure of full coverage after the tubing shrinks. Slide the tubing over the wire before you make the final connection. Putting it in place first saves you the trouble of undoing a finished splice. Center the tubing over the protected area. Leave an adequate overlap on each side. This overlap makes sure the connection is fully covered.
Gather your tools for heat shrinking before you start. You need a good heat gun with adjustable temperature and airflow settings. An infrared thermometer helps you check surface temperature. Heat-resistant gloves and eye protection keep you safe. Wire cutters and strippers should be close by. These tools for heat shrinking make the job smoother and safer.
Applying Heat Correctly for a Uniform Seal
The heating phase decides whether your installation works or fails. Start applying heat from the center of the tubing. Work outward toward each end. This method pushes trapped air out and stops bubbles from forming. It also cuts down on wrinkling at the ends. Move the heat gun in a steady sweeping motion. Never focus heat on one point. A gun that stays still can scorch or split the tubing.
Set your heat gun to the recommended temperature for the specific tubing material. Standard polyolefin has its own recommended temperature range. Keep the gun at a safe distance from the tubing surface. Watch for a slight sheen or gloss. This shine shows the best shrinkage temperature. Stop heating once the tubing fits the cable shape. The tubing will stop changing shape when the shrink is done.
You must apply heat evenly around the whole circumference. Rotate the component if you can. This makes sure of uniform shrinkage on all sides. Uneven heating creates weak spots and wrinkles. Use the lowest temperature that works and keep the gun moving. This approach avoids melting or charring. For oddly shaped objects, apply heat in stages. Focus first on areas that need the most shrinkage. A higher shrink ratio helps with complex shapes.
Let the tubing cool on its own after heating. Do not touch or stress the connection while it cools. Moving it too soon can twist the softened material. It also hurts adhesion. Once cool, check the final seal. Make sure the tubing is smooth and snug. Look for wrinkles, bubbles, or loose spots. Check for complete adhesion and coverage. Look for any exposed conductors or gaps. Reheat any problem areas if needed. Following these steps for using heat shrink tubing gives you a professional result every time.
Avoiding Mistakes When Installing Heat Shrink Tubing
Preventing Overheating and Underheating
The biggest mistake when using heat shrink tubing is not controlling the heat. Overheating happens if you hold the heat source too close. The surface looks shiny with burn marks and blisters. This damage ruins the insulation. The connection no longer protects against electricity. Underheating happens if you move the heat source too fast. The tubing stays loose with puffed-up spots and gaps at the ends. Wrinkles stay that should have flattened out. Water then gets in through unsealed ends.
Technicians should use a heat gun that is set correctly instead of a torch. An open flame creates hot spots that can damage nearby materials or cause uneven shrinking around the clamp. The right way is to use a heat gun set to the correct temperature. Move it in circles while watching for even shrinking all around. Let the clamp cool all the way before you check the connection.
You must heat the entire tube evenly. A circular motion stops hot spots. Every installation needs careful control. Set your heat gun to the recommended temperature for standard polyolefin heat shrink tubing. An open flame leaves carbon soot that can cause short circuits. Flame heat can also melt the wire insulation. A heat gun gives you steady control. Remember to let the tubing cool completely before you move the connection. Moving it too early weakens the adhesive bond.
Eliminating Wrinkles, Bubbles, and Misalignment
A common mistake is shrinking from one end to the other. This traps air at the far end. A large bubble forms under the tube. The right way is to start heating in the middle. Work outward to both ends. This pushes out trapped air and stops wrinkles.
If bubbles still show up after heating, try these steps:
Heat the spot again to soften the tube and smooth out the bubble.
Poke the bubble with a pin or needle to let the air out.
Heat that spot again after poking to seal it completely.
This method works well for large heat shrink tubing, where bubbles happen more often.
Misalignment happens when you do not center the tubing before heating. Check the position before you start. The tubing should stick out the same distance on both sides of the connection. A good installation takes patience and care. Follow these steps every time. Your work will then give the best durability and protection.
Troubleshooting Heat Shrink Tubing Problems
Fixing Incomplete Shrink or Split Tubing
Incomplete shrink and split tubing usually come from three main causes: uneven heat, a dirty surface, or the wrong tubing size. When you focus heat on one spot, you burn the sleeve or push adhesive away from the connection. The tubing then fails to shrink evenly. An oversized tube cannot grip the wire, so it leaves gaps and loose seals. A tube that is too small stretches during installation and thins the material, which weakens its dielectric strength.
Use this table to match each symptom to its likely cause and corrective action:
Symptom | Probable Root Cause | Corrective Action |
|---|---|---|
Tube split or cracked | Overheating, tube too small, or sharp edge on component | Reduce temperature or increase distance; use a larger initial ID; file down sharp edges |
Wrinkles or chill marks | Uneven heating or heat source too cool | Re-apply heat uniformly; use a reflector nozzle |
Charring or discoloration | Heat source too close or temperature too high | Keep the gun at a safe distance and keep it moving |
Tubing slides after cooling | Recovery ID is too large for the wire | Replace with a smaller size or higher shrink ratio |
Bubbles under tube | Trapped air from sealing ends first | Switch to center-out heating technique |
Heating must start at the center of the tubing and move outward toward the ends. If the ends are sealed first, air gets trapped inside; as it expands with heat, it creates blisters or stops the adhesive from bonding, resulting in incomplete shrinking and bubbles under the sleeve.
For incomplete shrinkage, reapply heat slowly. If the tubing already shows damage, replace it completely to maintain protection. For overheating damage such as splits or brittleness, replace affected sections and inspect nearby areas for compromised insulation. Always use a calibrated heat source and verify temperature settings before you begin.
Resolving Tubing That Slides or Lacks Adhesion
Tubing that slides after cooling almost always has a recovery diameter that is too large for the wire. The tubing cannot grip the jacket, so it moves under vibration or stress. Switch to a smaller size or a higher shrink ratio. For example, move from 2:1 to 3:1 tubing when you cover connector-to-cable transitions. This change gives you a tighter grip without over-stressing the material.
Adhesion failures often come from a contaminated surface. Oil, dust, and moisture disrupt the bond between the adhesive and the cable jacket. Clean every surface thoroughly before you slide the tubing into place. Adhesive-lined dual-wall tubing gives you a stronger, watertight bond than standard single-wall tubing. Apply heat evenly from the center outward to avoid trapped air and ensure full contact. Continue heating until a thin ring of adhesive squeezes out at both ends. That squeeze-out confirms a fully sealed bond. A slight glossiness on the surface indicates proper heat. Wrinkles, gaps, or bubbles mean you need more heat or a different technique.
Common Uses of Heat Shrink in Different Projects
Knowing the common uses of heat shrink tubing helps you pick the right product for each job. Different places need different materials and shrink ratios. The uses of heat shrink cover industrial, marine, outdoor, and medical settings. Each setting has its own performance needs. Knowing these needs helps you choose the right tubing.
Protecting Cable Splices and Connectors in Industrial Settings
Industrial places expose cable splices to vibration, chemicals, and scraping. You put polyolefin heat shrink tubing on motor leads, control panels, and conveyor connections. Polyolefin stands up to oils, fuels, and hydraulic fluids. It keeps its properties over a wide temperature range. Cross-linked polymer shrinks to form a tight, mechanically bonded sleeve. This sleeve handles constant vibration without coming loose. Heat shrink for large-scale applications in factories needs 3:1 or 4:1 ratios. These ratios cover odd-shaped connectors and cable transitions. The tubing gives better strain relief at connection points. The installation process follows the same steps you learned before. Clean the surface, cut with overhang, and heat from the center outward. For heat shrink for large-scale applications, you often need dual-wall tubing. The adhesive layer keeps moisture out in wash-down areas. A clean installation gives you long-term reliability.
Sealing and Insulating Marine and Outdoor Connections
Marine and outdoor connections need waterproof protection. You must use dual-wall adhesive-lined heat shrink tubing for these places. The adhesive melts during heating and flows around the substrate. After cooling, it forms a strong waterproof seal. Properly applied adhesive-lined tubing provides effective waterproof protection. Heat shrink tubing beats electrical tape in every way. Tape soaks up moisture and breaks down in sunlight. Polyolefin keeps its properties for the life of the installation. Heat shrink for large-scale applications in marinas and solar installations gives permanent protection. The uses of heat shrink also cover medical equipment. Specialty tubing meets relevant industry standards. Fluoropolymer heat shrink tubing stands up to high temperatures and chemicals. These specs support safe use in medical and food processing places. The uses of heat shrink in these different fields all depend on proper preparation and heating technique.
Three important steps make sure your heat shrink tubing seal is strong. First, measure the widest part of the cable. Pick tubing whose recovered diameter is smaller than that measurement. This gives you a tight grip. Apply heat from the middle toward both ends. Use a heat gun set to the correct temperature. Keep it moving at a steady pace. Let the connection cool all the way before you put stress on it. Cooling allows the adhesive to bond fully.
Cleaning the surface gets rid of dirt and grease. Cutting well past the connection covers the whole joint. These steps must be followed for a waterproof installation. If you skip any step, you risk failure. Follow these steps every time. Your heat shrink tubing installation will give you the best durability and protection.
FAQ
How do you know when the tubing has shrunk enough?
You will see the tubing conform tightly to the cable shape. A slight gloss appears on the surface at the right temperature. The material stops changing shape once fully recovered. Stop heating at that point to avoid scorching or splitting the tubing.
Can you use a heat gun on its highest setting?
No. You should set your heat gun to the recommended temperature for adhesive-lined polyolefin. Higher temperatures risk melting the tubing or damaging wire insulation underneath. Keep the gun moving in a steady sweeping motion at all times.
What happens if you skip cleaning the cable?
Dirt, grease, and moisture prevent the adhesive from bonding properly. The tubing may slide after cooling or leave gaps that let water in. Always wipe the surface with a recommended solvent and let it dry completely before sliding the tubing into place.
Why does trapped air form bubbles under the tubing?
Air gets trapped when you seal the ends first. Start heating from the center and work outward toward each end. This technique pushes air out ahead of the shrinking material. If bubbles still appear, poke them with a pin and reheat that spot.
How long should you wait before bending the connection?
Let the tubing cool completely on its own. Touching or stressing the connection while it remains warm can twist the softened material and weaken adhesion. Once cool, the bond is set and the connection can handle normal handling.
See Also
A Complete Walkthrough For Picking Proper Heat Shrink Tubing Sizes
Crucial Recommendations For Applying FEP Heat Shrink Tubing
Selecting The Best Ultra-Thin PET Heat Shrink Tubing For Projects

© Copyright 2024 My First Blog - All Rights Reserved.