5 Expert Tips for Thin-wall PET Heat Shrink Tubing

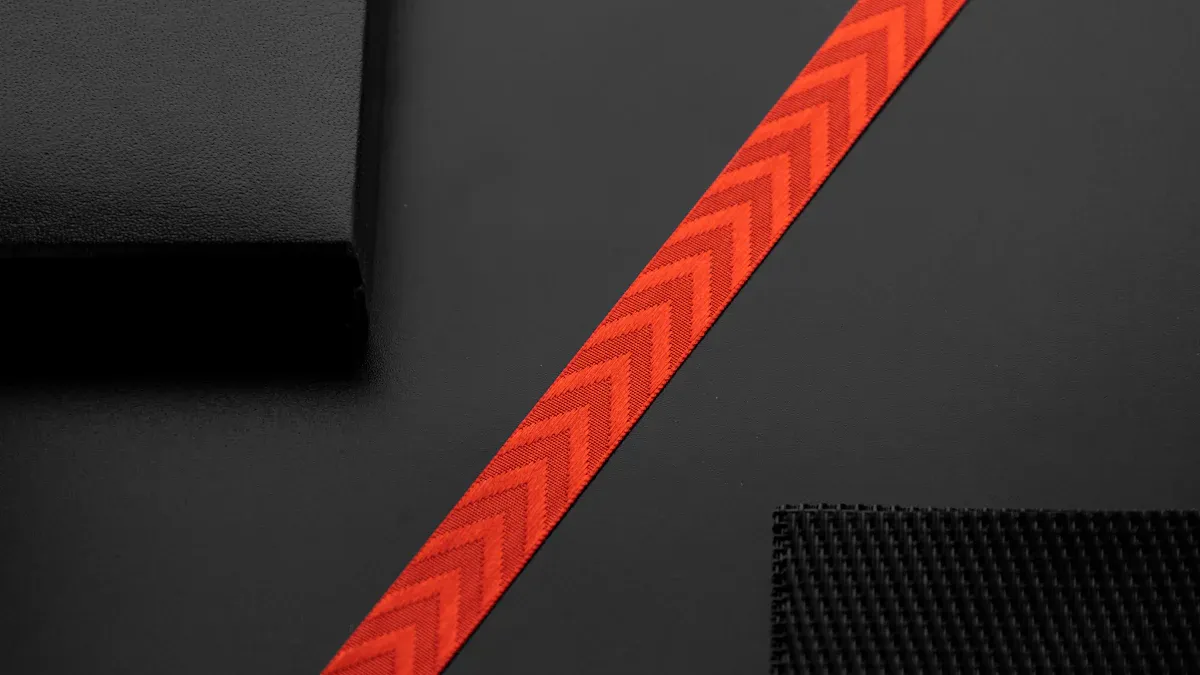
Thin-wall PET heat shrink tubing with <0.1mm thickness is essential for creating durable and precise projects. Despite its ultra-thin design, it maintains impressive strength, making it ideal for applications requiring long-term reliability. Rigorous quality checks during production ensure the tubing meets stringent standards, including its ability to stretch and retain strength. This thin-wall PET heat shrink tubing can withstand demanding cleaning processes such as autoclaving and gamma radiation, remaining resilient even under harsh conditions.
When used correctly, thin-wall PET heat shrink tubing with <0.1mm thickness provides robust insulation, a secure fit, and lasting performance.
Key Takeaways
Pick the correct size and shrink ratio for a good fit.
Make sure the surface is clean and dry before use.
Use a heat gun to shrink evenly and check the fit.
Pick the Right Size for Heat Shrink Tubing
Measure your component's size carefully
To get a good fit, measure your component's size exactly. Tools like rulers, calipers, or micrometers can help you measure well. Accurate measurements reduce mistakes and ensure the tubing works properly. If you ignore things like uneven shapes, gaps may form, or the tubing might not shrink evenly. This can weaken the protection it provides. Always check your measurements twice to avoid problems that could harm your project.
Choose tubing with the right shrink ratio (like 2:1 or 3:1)
Picking the correct shrink ratio is important for a tight fit. A 2:1 tubing shrinks to half its size, while 3:1 shrinks to one-third. For oddly shaped parts, higher ratios cover better and protect more. Tubing with glue inside is great for waterproofing because it seals tightly when heated. This type also shields against bad weather and chemicals, making it perfect for tough conditions.
Think about the tubing's thickness and what you need it for
The tubing's thickness affects how well it works. Thicker tubing gives extra protection and handles stress better, which is good for heavy-duty jobs. Research shows thicker walls help tubing stay strong and resist stretching. When choosing tubing, think about what your project needs, like heat resistance, flexibility, or toughness. Waterproof tubing with glue inside works well in wet or extreme places, lasting a long time.
Get the Surface Ready for Tubing
Clean off dirt, grease, or debris
Check the surface before adding the tubing. Dirt or grease can stop the tubing from sticking well. Use a soft cloth or brush to clean loose dirt. For tough spots, use a gentle cleaner and wipe carefully. Don’t use strong chemicals that might harm the surface. Cleaning helps the tubing fit tightly and work properly.
Make sure the surface is dry before adding tubing
After cleaning, ensure the surface is dry. Wet areas can mess up the shrinking process and loosen the tubing. Use a cloth to soak up water. Let the surface air dry if you have time. To dry faster, use a hairdryer or heat gun on low. A dry surface helps the tubing shrink evenly and stay in place.
Use primers or glue for better sticking if needed
For tricky surfaces, primers or glue can help. Primers make the surface rougher, so the tubing sticks better. Glue creates a strong hold, especially in wet or hot places. Spread a thin layer of primer or glue evenly. Follow the instructions to match it with your tubing.
Cut and Measure Thin-wall PET Heat Shrink Tubing Accurately
Use sharp tools for smooth and neat cuts
Sharp tools make cutting heat shrink tubing easy and clean. Dull blades can leave rough edges, which might weaken the tubing's fit. Tools with Teflon-coated blades cut smoothly and stop fraying. Some tools use special motions, like rotating, for straight cuts. Handles designed for comfort help you hold tools safely and avoid accidents. The table below shows features of good cutting tools:
Feature | Description |
|---|---|
Blade Type | Teflon-coated blades for smooth cuts without rough edges. |
Cutting Mechanism | Rotating or rocking motion for straight and clean cuts. |
Safety Features | Comfortable handles for a safe grip to prevent slipping. |
Efficiency | Works better than regular knives for precise cutting. |
Application | Works on both thin and thick heat shrink tubing. |
Using the right tools makes cutting easier and saves time.
Measure tubing length carefully and leave extra for shrinking
Always measure the tubing to cover the area you need. Add a little extra length for shrinking during heating. This ensures the tubing fully protects your component. Use a ruler or tape measure for accurate results. Double-check your measurements to avoid mistakes that could cause problems later.
Don’t cut tubing too short to ensure full coverage
If the tubing is too short, parts of your component may stay exposed. This reduces the protection and insulation the tubing provides. To avoid this, cut the tubing slightly longer than needed. You can trim extra tubing after shrinking it, but you can’t fix a piece that’s too short. Full coverage helps the tubing work well, no matter the thickness or use.
Apply Heat Correctly to Heat Shrink Products

Use a heat gun or the right heat source for even shrinking
The correct heat source helps heat shrink products work properly. A heat gun is the best tool for this job. Follow these steps for good results:
Keep the heat gun about 4 inches away from the tubing. This stops overheating and allows air to flow.
Move the heat gun back and forth smoothly. This avoids overheating one spot, which could harm the tubing.
Turn your project as you heat it. This spreads the heat evenly across all sides.
Tip: Use calibrated heat tools for steady results. Standards like UL/CSA 224 and AMS-DTL-23053 suggest keeping the temperature at 150°C (302°F) for most uses.
Aspect | Details |
|---|---|
Recommended Shrinking Temp | 150°C (302°F) works well for most shrinking tasks. |
Importance of Calibration | Calibrated tools give steady and even heat. |
Industry Standards | Meets UL/CSA 224 and AMS-DTL-23053 for safety and flexibility. |
Turn the heat source around the tubing for even shrinking
Turning the heat source is key to shrinking the tubing evenly. Rotating the heat gun or project spreads heat equally. This avoids uneven shrinking and gives a snug fit. Studies show turning the heat source improves heat balance and temperature control.
Findings | Description |
|---|---|
Heat Distribution | |
Simulation Model | Computer tests prove rotation helps heat spread better. |
Experimental Validation | Real-life tests show better heat balance with rotation. |
Note: Don’t hold the heat gun in one spot too long. This can cause wrinkles or damage to the tubing.
Heat the ends first to reduce lengthwise shrinking
Start heating at the tubing’s ends to hold it in place. This lowers the chance of too much shrinking along its length. Warm the area around the tubing a little before applying direct heat. This helps the tubing grip tightly and shrink evenly.
Steps to follow:
Warm the area near the tubing to avoid uneven shrinking.
Heat one end first, then move to the other end.
Don’t focus heat on one spot to prevent wrinkles or damage.
Heating the ends first keeps the tubing thick and ensures full coverage. This method works well for tubing that handles high heat.
Inspect and Ensure Proper Installation of Heat Shrink Tubing for Your Application
Check for a snug fit and ensure there are no gaps or bubbles
After shrinking, check if the tubing fits tightly around the part. A tight fit gives good insulation and protection. Look for gaps or bubbles that might weaken the tubing’s performance. Use your fingers to gently feel the tubing for uneven spots. If you find gaps, heat the tubing again to fix them. For important uses, pick tubing with adhesive inside to seal better and block moisture or dirt.
Look for even shrinking and proper adhesion after cooling
Once cooled, check if the tubing shrank evenly and stuck well. Uneven shrinking can make the tubing thinner and less strong. Watch for stretched or wrinkled areas. Several things affect how well the tubing sticks:
Wall thickness when fully shrunk.
Length shrinkage, usually 5% to 15%.
Material type, like polyolefin, PVC, or fluoropolymer.
These factors decide how well the tubing sticks after cooling. If it doesn’t stick well, check the heat source and make sure the tubing was heated evenly.
Test the durability and functionality of the tubing after installation
After putting on the tubing, test its strength and function. Press or bend the tubing gently to check its toughness. For electrical uses, use a multimeter to see if it insulates properly. If the tubing faces tough conditions, test it with water or heat changes to see if it lasts. Testing helps find problems early and ensures the tubing works as needed.
Tip: Regular checks and tests help heat shrink tubing last longer, especially in tough conditions.
To get the best from thin-wall PET heat shrink tubing, follow these five steps:
Pick tubing a bit bigger than your part, thinking about size and thickness.
Clean the surface well so it sticks properly.
Measure and cut carefully for a neat look.
Use a heat gun to shrink it evenly.
Check and test to make sure it fits tightly after you're done.
Using these tips will help your projects last longer and look great.
FAQ
How should you store heat shrink tubing?
Keep it in a cool, dry spot. Avoid direct sunlight. This stops it from breaking down and keeps it ready to use.
Can heat shrink tubing be used again after removal?
No, it cannot be reused. Once it shrinks, it loses stretchiness and won’t go back to its original size.
How can you tell if the tubing is installed correctly?
Make sure it fits tightly with no gaps or bubbles. Check if it sticks evenly and test its strength to ensure it’s done right.
See Also
Key Advice for Effectively Utilizing FEP Heat Shrink Tubing
Selecting the Ideal Ultra-Thin PET Heat Shrink Tubing
A Comprehensive Guide to Picking Heat Shrink Tubing Sizes
Essential Information on PET Heat Shrink Tubing for Electronics
Applications of Heat Shrink Tubing for Electrical Wire Insulation

© Copyright 2024 My First Blog - All Rights Reserved.