How to Apply PET Heat Shrink Tubing for Biopsy Needle Marking

You can use pet heat shrink for biopsy needle marking to create precise and reliable marks on your biopsy needle. Thin-wall PET tubing keeps the needle slim and strong. You get clear visibility when you use pet heat shrink for biopsy needle marking, which helps during every biopsy. The tubing fits tightly around the needle and does not add extra bulk, so you keep the original feel and control.
Key Takeaways
Use thin-wall PET heat shrink tubing to mark biopsy needles. It does not make the needle heavy or thick. - Clean and get the needle ready before you put on the tubing. This helps the mark stay strong and last long. - Cut the tubing to the right size. Put it in the right spot for clear and correct marks. - Heat the tubing evenly. Do not use too much heat. This makes the tubing shrink tight without harm. - PET tubing keeps marker bands in place. It can handle heat and chemicals. It also keeps marks easy to see during scans.
Materials and Tools
Required Materials
You need some things to use pet heat shrink for biopsy needle marking. Make sure you have everything ready before you begin:
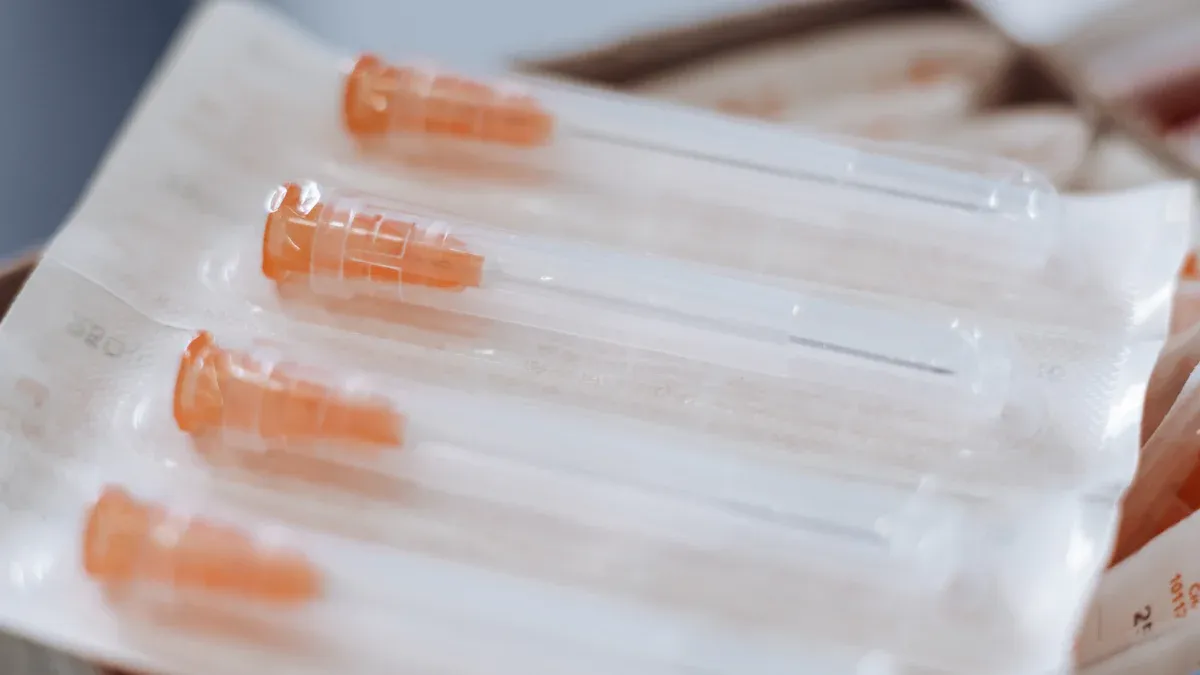
PET heat shrink tubing (thin-wall type)
Biopsy needle
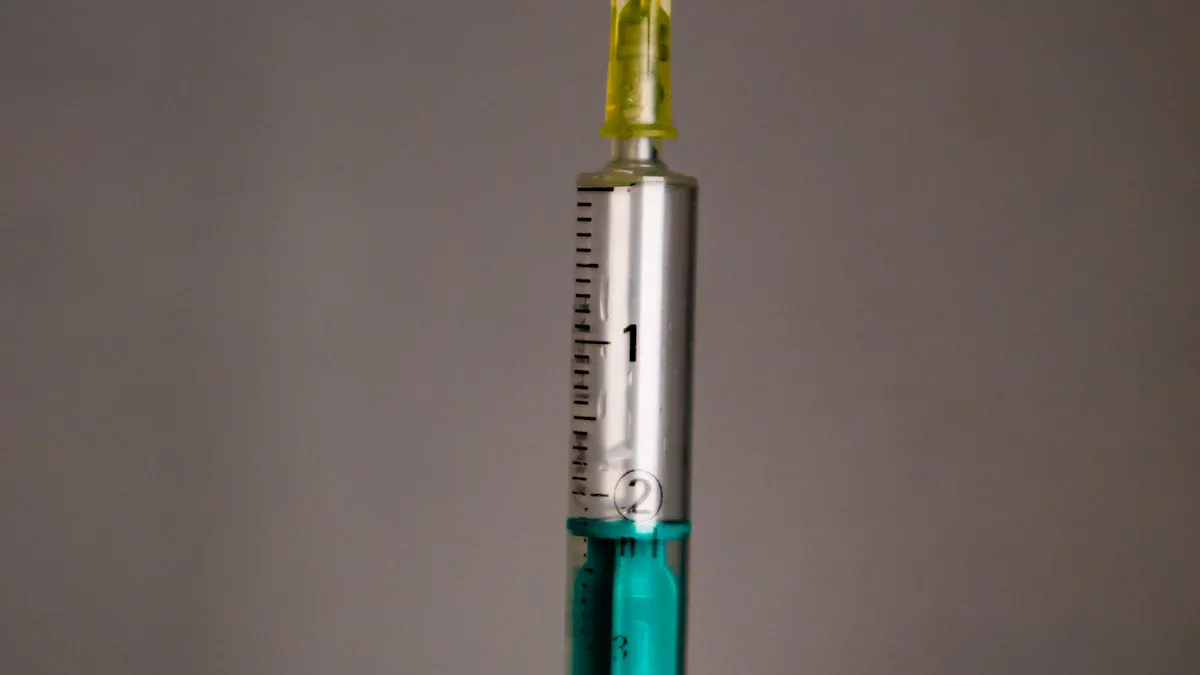
Heat source (like a heat gun)
Cutting tool (such as sharp scissors or a blade)
Safety equipment (gloves and eye protection)
PET heat shrink tubing works well because it is strong and reliable. The table below lists important facts you should know:
Property | Specification / Value |
|---|---|
Material | Polyethylene Terephthalate (PET) |
Wall Thickness | 0.0001"–0.004" |
Diameter Range | 0.006"–0.5" |
Tensile Strength | ≥ 10 MPa (or > 20,000 PSI) |
Break Elongation | ≥ 62% |
Dielectric Strength | > 4,000 V/mil |
Melting Point | 235°C |
Temperature Range | -196°C to 135°C (long-term) |
Shrinkage | Radial up to 50% |
Biocompatibility | ISO 10993 certified |
Tip: Make sure your PET tubing fits your needle well for best results.
Selection Tips
Picking the right PET heat shrink tubing helps you mark your biopsy needle better. Here are some easy tips to help you:
Use thin-wall PET tubing to keep your needle slim and easy to use.
PET is strong and tough, so your marking will stay in place.
The tubing does not get damaged by heat or chemicals, so it lasts through cleaning and use.
PET keeps its shape when heated, so your marking will not move or come off.
The tubing works with radiopaque marker bands, so you can see your needle during scans.
You want your biopsy needle to be strong and safe. PET does not let much gas through and is very tough, so it is great for medical tools. When you use pet heat shrink for biopsy needle marking, you help make each biopsy safe and easy.
Application Steps
Needle Preparation
Start by preparing your biopsy needle. Clean the needle with alcohol wipes to remove any dirt or oil. Dry it with a lint-free cloth. This step helps the tubing stick well and keeps your biopsy safe. Always check the needle for any damage before you begin. If you see any bends or cracks, use a new needle. Good preparation gives you a strong base for marking.
Tip: Wear gloves to keep the needle sterile and protect your hands.
Tubing Preparation
Next, get your PET heat shrink tubing ready. Measure the length you need for the marking. Use sharp scissors or a blade to cut the tubing. Make sure the cut is straight and smooth. A clean cut helps the tubing shrink evenly.
You want the tubing to fit tightly on the needle. Choose a size that matches the needle’s diameter. If you use radiopaque marker bands, cut the tubing long enough to cover the band and hold it in place.
Test Type | Description | Why It Matters for Tubing Preparation |
|---|---|---|
Unrestricted Shrinkage | Tubing shrunk without constraint to check real-world behavior. | Shows if tubing will shrink evenly on your needle. |
Restricted Shrinkage | Tubing shrunk on a metal rod to test electrical properties. | Less common for biopsy, but checks special needs. |
Heat Shock | Tubing heated for 4 hours, then checked for cracks or bends. | Proves tubing can handle heat during use. |
Physical/Electrical Tests | Checks strength, color, flexibility, and more after shrinking. | Confirms tubing stays strong and safe after heating. |
Dynamic Mechanical Analysis (DMA) also helps check how the tubing shrinks and how much stress it can handle. This test measures the tubing as it heats up, showing how well your preparation works. These tests make sure your tubing will shrink the same way every time.
Positioning Tubing
Slide the cut piece of PET heat shrink tubing onto the biopsy needle. Place it exactly where you want the mark to be. If you use a marker band, position the band first, then slide the tubing over it. Make sure the tubing covers the band fully. Hold the needle steady so the tubing does not move out of place.
Note: Take your time with this step. Good positioning gives you a clear and accurate mark for every biopsy.
Heat Application
Now you will shrink the tubing. Use a heat gun set to a low or medium setting. Hold the needle with tweezers or a clamp to keep your hands safe. Move the heat gun back and forth over the tubing. Keep the heat source about 2–3 inches away from the needle. Watch as the tubing shrinks tightly around the needle and any marker band.
Do not overheat the tubing. Too much heat can damage the needle or make the tubing brittle. Stop heating as soon as the tubing fits snugly. Let the needle cool before you touch it.
Inspection
After the tubing cools, check your work. Look at the mark to see if the tubing shrank evenly and covers the right spot. Gently tug on the tubing to make sure it stays in place. If you use a marker band, check that it does not move.
Manufacturers use strict quality checks to make sure every mark is clear and easy to see during a biopsy. They test the materials and watch the process closely. They also check the radiopacity of the mark, so you can see the needle clearly on scans. These steps help you get a safe and reliable mark every time.
Reminder: If you see bubbles, gaps, or loose tubing, remove it and start again. A good mark helps you work safely and accurately.
Pet Heat Shrink for Biopsy Needle Marking
Benefits
There are many good things about using PET heat shrink tubing for marking a biopsy needle. The tubing is thin, so it does not make the needle bigger or heavier. This means you can hold and use the needle easily. You can work carefully during a biopsy. PET tubing is very strong, so it lasts even if you use the needle many times. The tubing also blocks electricity, which helps keep you and your patients safe during scans or other tests.
PET heat shrink tubing wraps tightly around the needle. It does not slide or move, so your mark stays where you want it. The tubing can take high heat, so you can clean the needle without hurting it. PET does not get damaged by chemicals or body fluids. This keeps the needle and the mark safe. You can count on your mark to last a long time.
Tip: PET tubing bends easily, so you can use it on many needle sizes and shapes. You always get a tight fit.
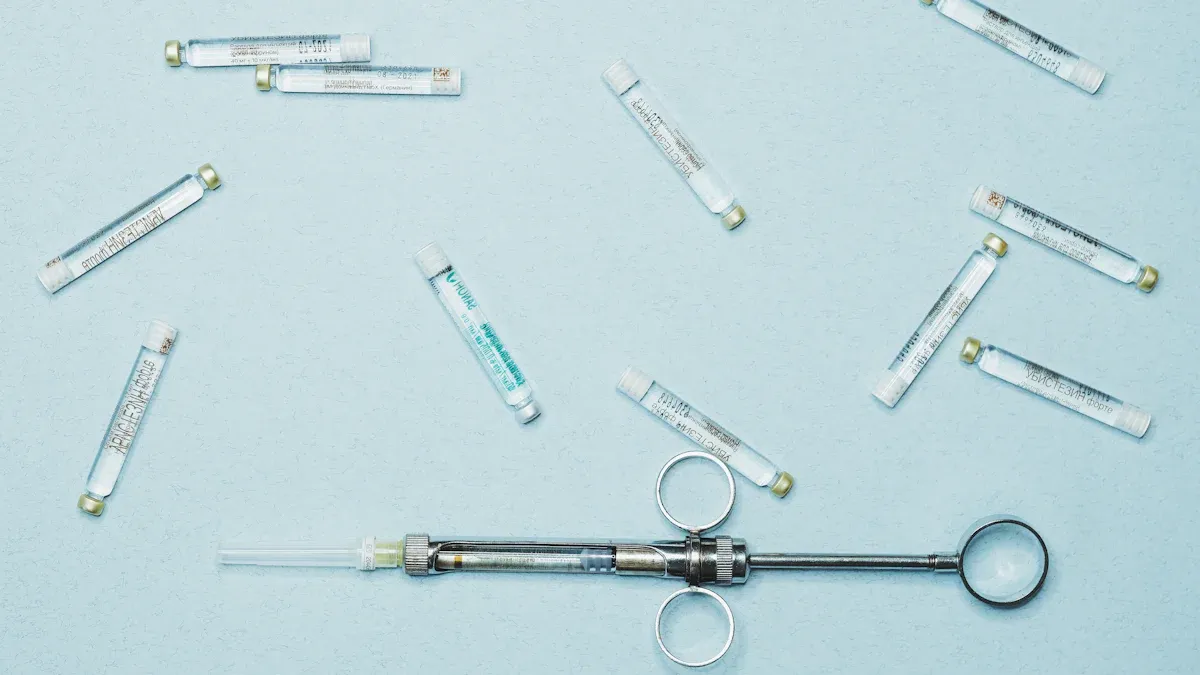
Use with Marker Bands
PET heat shrink for biopsy needle marking works great with radiopaque marker bands. These bands help you see the needle during scans like X-rays or fluoroscopy. PET tubing shrinks evenly and holds the marker bands right where you need them. This gives you clear pictures, so you can guide the needle well during a biopsy.
PET tubing keeps marker bands in place, even after cleaning with high heat.
The tubing is strong and bends, so the bands do not move or slip.
PET is safe for the body and keeps the bands safe from fluids.
The tubing fits well, so you can use marker bands on many medical tools.
PET blocks electricity, so scans are safer and clearer.
You can trust PET heat shrink tubing to keep your marker bands easy to see and in the right spot. This helps you do each biopsy safely and well.
Best Practices and Troubleshooting
Accuracy Tips
You want your markings to be precise and long-lasting. Start by working in a clean area. This helps you avoid dust or dirt on your needle. Always measure the tubing before you cut it. Double-check the length so the mark sits exactly where you need it. Use sharp scissors or a blade for a smooth edge. A straight cut helps the tubing shrink evenly.
Hold the needle steady when you slide on the tubing. You can use tweezers or a clamp for better control. When you apply heat, move the heat gun slowly and evenly. Keep the heat source at the right distance. This prevents the tubing from shrinking too fast or unevenly.
Tip: Let the tubing cool before you touch it. This keeps the mark firm and secure.
Common Mistakes
You may face some problems when you use PET heat shrink tubing. Here are common mistakes and how you can fix them:
Mistake | What Happens | How to Fix It |
|---|---|---|
Overheating | Tubing becomes brittle or discolored | Use lower heat and move steadily |
Misalignment | Mark sits in the wrong place | Reposition tubing before heating |
Loose Tubing | Tubing slips or rotates | Choose correct size and shrink fully |
Air Bubbles | Bubbles under tubing | Clean needle and apply heat evenly |
If you see any of these issues, remove the tubing and start again. You want your mark to stay in place during every biopsy. Always inspect your work before you use the needle.
Note: Practice helps you get better results each time. Take your time and follow each step closely.
You can make clear and strong marks on a biopsy needle by doing these steps: 1. Clean the needle well. 2. Put the PET heat shrink tubing in the right spot. 3. Use heat and move it around the tubing. 4. Check to see if the tubing fits tightly and looks good. PET tubing is strong, bends easily, and does not get hurt by chemicals, so your marks will last. Picking good materials and working carefully helps you get the right results and keeps patients safe. 🩺 Always use the best steps to keep your work safe and high quality.
FAQ
How do you choose the right size PET heat shrink tubing?
You should measure your needle’s diameter first. Pick tubing with a slightly larger inner diameter. After shrinking, the tubing should fit tightly without gaps or wrinkles.
Can you reuse PET heat shrink tubing on another needle?
No, you cannot reuse PET heat shrink tubing. Once you shrink it, the tubing keeps its shape. Removing it will damage the tubing, so always use a new piece for each needle.
What should you do if the tubing forms bubbles during shrinking?
Clean the needle before applying the tubing. If you see bubbles, remove the tubing and start again. Bubbles mean air or dirt got trapped, which can weaken the mark.
Is PET heat shrink tubing safe for medical use?
Yes, PET heat shrink tubing is biocompatible and meets ISO 10993 standards. You can use it safely for medical tools like biopsy needles.
Can you see PET heat shrink tubing under X-ray or MRI?
You cannot see PET tubing alone on scans. To make the mark visible, use radiopaque marker bands under the tubing. This helps you guide the needle during imaging.

© Copyright 2024 My First Blog - All Rights Reserved.