How to Select Thin Wall Heat Shrink Tubing for Electrical Projects

You should think about size, shrink ratio, material, and what you need when you pick thin wall heat shrink tube for your electrical project. Thin wall tubing bends easily and wraps tightly around wires, connectors, and terminals. Many electricians use it to insulate and protect things. In 2025, thin wall PTFE heat shrink tubing made up about 33.8% of the market. This shows it is very popular for electrical insulation. The most used materials are PVC, PTFE, and PET. Each material has special features and works best in certain places.
Material | Properties | Applications |
|---|---|---|
PVC | Very flexible, tough, stands up to chemicals and scratches | Used for insulation and protection in electrical work |
PTFE | Handles high heat, insulates well, very smooth | Used in tough places like planes and cars |
PET | Strong, clear, insulates electricity | Used for packaging and medical things, good for clean places |
Tip: You can use a step-by-step guide to help you choose, whether you do projects at home or work as a pro.
Key Takeaways
Measure the biggest part of the wire or connector. Pick heat shrink tubing that is 25% bigger. This makes it easier to put on.
Learn about shrink ratios. A 2:1 ratio works well for normal wires. A 4:1 ratio is best for odd shapes.
Pick the right material for your project. Polyolefin bends easily and does not burn fast. PVC costs less and comes in many colors.
Look for safety certifications like UL 94 V-0. This shows the tubing is safe for your electrical work.
Use a checklist to help you avoid mistakes. Do not pick tubing that is too big or too small. Always measure carefully.
What Is Thin Wall Heat Shrink Tube?
Key Features and Flexibility
Thin wall heat shrink tube is good for small spaces. It is flexible and easy to use in electrical projects. The wall is thinner than other types. You can see the differences in this table:
Wall Type | Thickness Range | Primary Applications | Key Benefits |
|---|---|---|---|
Thin-Wall | 0.2-0.5mm | Wire identification, light insulation | Flexibility, minimal space requirements |
Medium-Wall | 0.5-1.0mm | General wire protection, cable bundling | Balanced protection and flexibility |
Heavy-Wall | 1.0-2.5mm | Harsh environments, mechanical protection | Maximum durability and abrasion resistance |
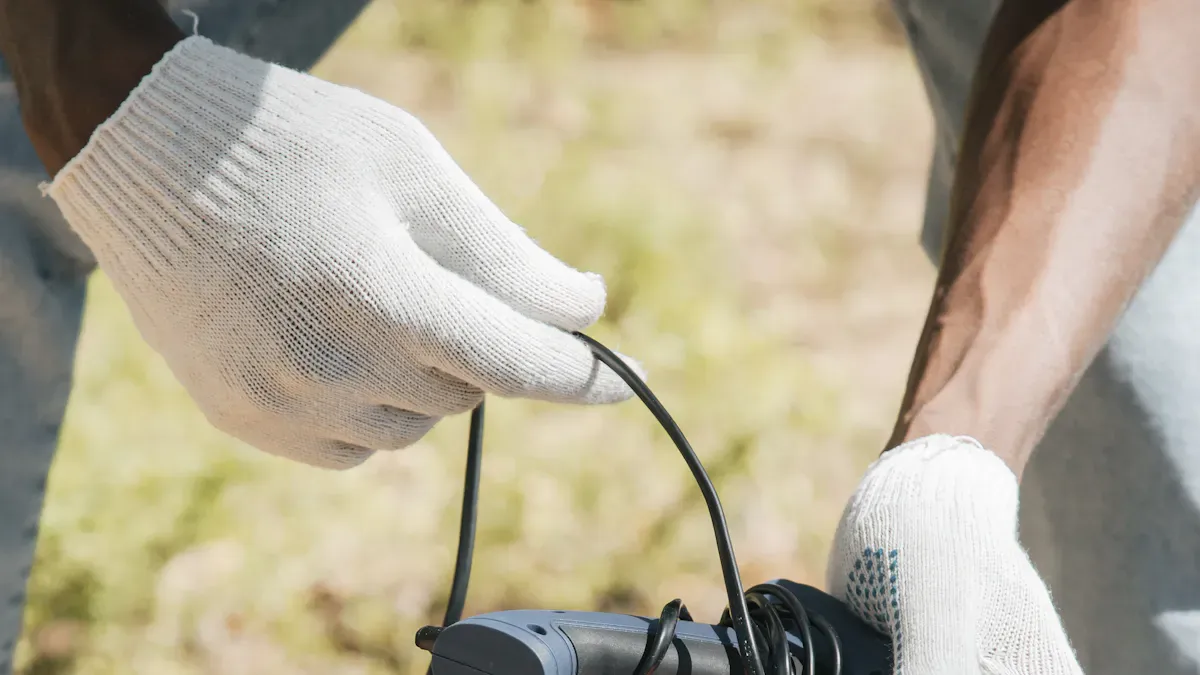
Thin wall heat shrink tube bends easily. You can wrap it around corners and odd shapes. It shrinks fast when heated above 90°C. This helps you finish your work quickly. The tube protects against chemicals, oil, sunlight, water, and fungus. The material is usually halogen-free and flame-retardant polyolefin. This makes it safer and more reliable. When you work in tight spots, the tube fits closely to wires and connectors. It covers them well and keeps out water and dirt. It also stops wires from getting scratched.
Tip: Pick thin wall heat shrink tubing if you want something easy to use and strong in small or crowded places.
Common Electrical Uses
Thin wall heat shrink tube is used in many electrical jobs. It covers and protects wires, cables, and parts. You put it over splices and ends to stop shorts. In cars, it keeps connections safe from water and rubbing. You can cover small parts like resistors and capacitors. The tube helps hold wires at connectors on circuit boards. It also covers and protects lithium-ion battery packs. Color sleeves help you tell wires apart and keep them neat. This makes it easier to install and fix things. In high-voltage work, thin wall heat shrink tube gives strong insulation and does not burn easily.
Main advantages of thin wall heat shrink tube in electrical work:
Electrical insulation for exposed wires
Strain relief to prevent wire movement
Environmental protection from dust and moisture
Bundling and organization of cables
Color coding for easy identification
Abrasion protection
Post-soldering insulation for clean finishes
Thin wall heat shrink tube works for many jobs at home or work.
How to Size Heat-Shrink Tubing
Measuring Diameter and Length
You need to measure the largest diameter of the wire, cable, or connector you want to cover. Use calipers for accuracy. If you do not have calipers, use a ruler. Always check both the largest and smallest parts of the object. This helps you find the right size for your heat-shrink tubing. Follow these steps:
Measure the largest diameter of the object.
Measure the smallest diameter if the object changes shape.
Choose tubing with an expanded inside diameter at least 25% larger than the largest measurement. This makes installation easier.
Check the length of the object. Pick tubing slightly longer to allow for shrinkage.
Tip: Slide the tubing over the object before heating to make sure it fits well.
Understanding Shrink Ratio
Shrink ratio tells you how much the tubing will shrink when heated. Common ratios are 2:1, 3:1, and 4:1. A 2:1 ratio means the tubing shrinks to half its original size. A 3:1 ratio covers a wider range of sizes. A 4:1 ratio works best for odd shapes and gives maximum flexibility. Look at this table to compare:
Shrink Ratio | Description |
|---|---|
2:1 | Shrinks to half its size, good for standard wires |
3:1 | Covers more sizes, reduces inventory needs |
4:1 | Fits irregular shapes, offers most flexibility |
Higher ratios help you cover connectors and parts with big size changes. Always check the recovered diameter to make sure the tubing grips tightly after shrinking.
Sizing Tips for Best Fit
Pick the appropriate size by matching the tubing’s expanded diameter to your largest measurement. Make sure the recovered diameter is smaller than the smallest part for a snug fit. Compare your measurements to manufacturer size charts. If you choose tubing that is too small, you risk poor insulation and overheating. If you pick tubing that is too large, it may not grip well. Always check wall thickness for durability and insulation. Try a trial fit before heating.
Note: Correct sizing keeps your electrical project safe and reliable. The right size prevents short circuits and mechanical failure.
Choosing the Right Heat-Shrink Tube Material
Material Types and Properties
You should know what material you need before picking heat shrink tubing. Each material works differently and keeps your project safe. Check this table to see the most common types:
Material Type | Description | Properties |
|---|---|---|
Polyolefin | Organic thermoplastic with a waxy texture | Wide temperature range >105°C, abrasion resistance, flexible, flame retardant |
PVC | Polymer thermoplastic with chlorine and carbon | Lower cost, bright colors, limited to 105°C |
Fluoropolymer | Fluorocarbon-based polymer | High flame resistance, thinner walls than polyolefin |
Elastomer | Rubber-like polymer | Flexible at low temperatures, resists fluids and solvents |
PET (AccuPath) | Strong, clear, lightweight polymer | Excellent electrical insulation, high clarity, chemical resistance |
AccuPath’s PET heat shrink tubing is strong and clear. You can use it in clean places or when you need to see wires inside. PET tubing keeps out chemicals and water. It is good for medical and packaging projects.
Tip: Always check how thick the tubing is. Thin walls fit tight spots. Thick walls protect better.
Pros and Cons for Applications
The material you pick changes how well your tube works. Polyolefin handles high heat and bends easily. It protects against chemicals, oil, sunlight, water, and fungus. Flame-resistant tubing helps stop fires, which is important in risky places.
PVC heat shrink tubing costs less and comes in many colors. You can use it to mark wires or make things look nice. It does not bend as well as polyolefin and does not resist flames. Polyolefin is best for cars, boats, and electronics. PVC is good for low-voltage wires and color coding.
Feature | Polyolefin | PVC |
|---|---|---|
Uses | Automotive, marine, electronics | Low-voltage harnesses, wire marking |
Pros | Flame-retardant, flexible, excellent insulation | Low cost, high gloss finish, many colors |
Cons | Low UV tolerance, not resistant to fuels | Less flexible, not flame-retardant |
Temperature Range | -55°C to 135°C | ~105°C max |
Best for | General-purpose repairs | Cosmetic finishes, color labeling |
PET heat shrink tubing from AccuPath gives strong insulation and lets you see wires. You can use it where you need to see wires or keep them safe from chemicals. Elastomer tubing bends well in cold and wet places. It keeps out fluids.
Note: Pick the material that fits your project. Think about heat, flexibility, thickness, and safety.
Application Needs for Heat Shrink Tubing
Insulation and Protection
Heat shrink tubing gives strong insulation and keeps wires safe. It protects wires from heat, chemicals, and water. The tubing stops electrical shorts and damage. You need to pick tubing with features that fit your project. These features are:
Temperature tolerance
Chemical resistance
Strength
Abrasion resistance
Electrical insulation
Flexibility
Water resistance
Shrink factor
UV protection
Flame resistance
Electronics need tubing with good insulation for heat protection. Aerospace projects need tubing that handles high heat and flames. Polyolefin tubing works better in high temperatures and with chemicals than PVC. You should pick the right tubing material for your project.
Tip: Check the insulation rating and protection features before starting your electrical work.
Bundling and Identification
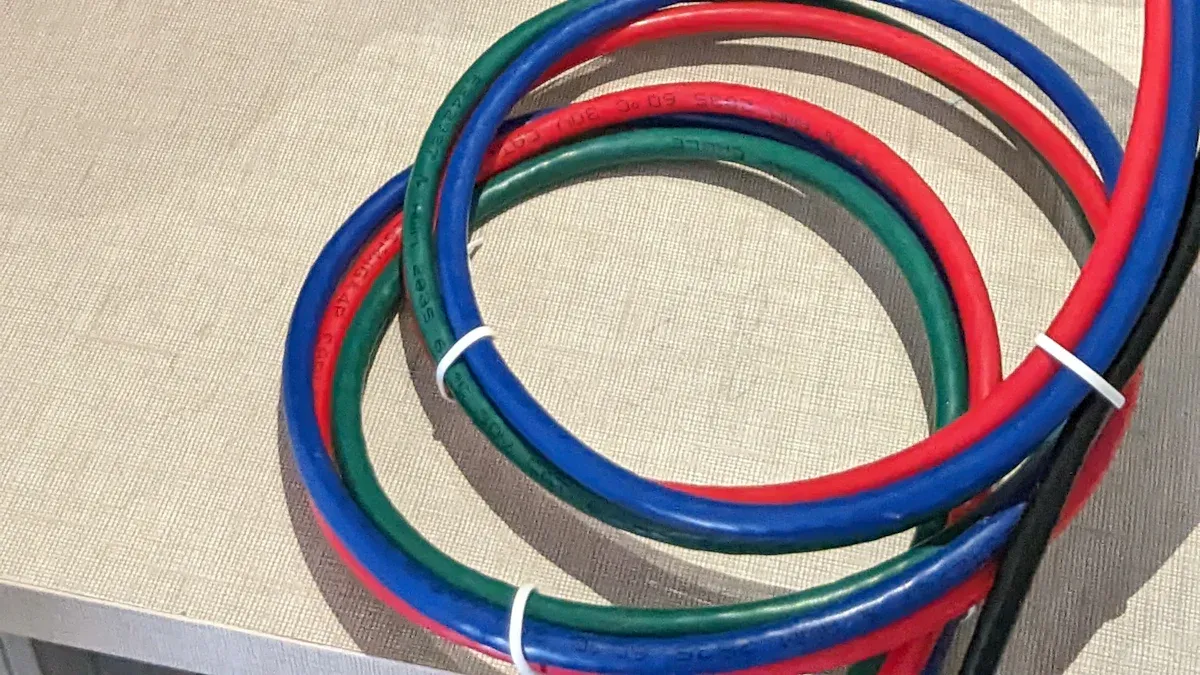
Heat-shrink tubing helps you keep wires organized. You can bundle wires together into one harness. This makes maintenance easier and cuts down on mess. Tubing comes in different colors so you can spot wires fast. You keep wires neat and make routing simple. Color-coded tubing helps you mark circuits for easy identification. You make your workspace look better and wiring more useful.
Bundles wires neatly
Makes maintenance and routing easier
Lets you color-code for identification
Improves looks and function
Note: Use heat shrink tubing to keep cables neat and easy to find.
Environmental and Safety Factors
You need to think about safety and the environment when picking tubing. Industrial projects often need tubing with certifications for flame resistance and strength. The table shows important standards:
Certification Standard | Description |
|---|---|
UL 94 V-0 | Needed for heat shrink tubing, shows it passed tough flammability tests. |
AS23053 | Aerospace standard for flammability, temperature, and fluid resistance, important for reliable jobs. |
IEC 60684 | International standard for flexible insulating sleeving, makes sure it works worldwide. |
You protect wires from harsh conditions by picking tubing with the right certifications. Always match tubing features to your project for best results.
Callout: Pick heat-shrink tubing with proper certification and environmental protection for safe electrical insulation.
Step-by-Step Guide to Select Thin Wall Heat Shrink Tubing
Selection Checklist
You can use a checklist to help you pick the best thin wall heat shrink tube for your electrical project. This guide helps you avoid mistakes and get the right size.
Measure for the Correct Size
Use a caliper or ruler to measure the outside of your wire, cable, or connector. Find the biggest part you need to cover. The expanded diameter of the thin wall heat shrink tube should be about 25% bigger than this size. Make sure the tubing can shrink enough to fit the smallest part.Understand Shrink Ratios
Look at the shrink ratio of the heat-shrink tube. Common ratios are 2:1 and 3:1. Pick a ratio that lets the tubing shrink between 20% and 80% of its full size. This helps the tube fit tightly and gives good insulation.Consider Wall Thickness
Think about how much protection you want. Thin wall heat shrink tube is good for small spaces and light insulation. Thicker tubing protects better from scratches and bumps.Select the Right Material
Choose the material that fits your project. Polyolefin is flexible and resists flames. PVC is bright and costs less. PET is clear and insulates well.Check Certifications and Ratings
Look for heat shrink tubing with certifications like UL 94 V-0 or IEC 60684. These ratings show the tubing is safe and meets rules.Prepare for Installation
Clean your wire or connector. Cut the tubing to the right length and add 10-15% for shrinkage. Put the tubing on so it covers all the parts you need.
Tip: Always check your measurements with the manufacturer's size chart before you pick heat shrink tubing.
Common Mistakes to Avoid
You can stop problems by watching out for these mistakes when picking thin wall heat shrink tube:
Using tubing that is too big. It may not shrink enough to insulate well.
Picking tubing that is too small. It will not fit over your wire or part.
Forgetting to measure both the biggest and smallest parts.
Not using good tools like calipers for measuring.
Ignoring shrink ratios. This can make the fit bad and insulation weak.
Not thinking about wall thickness. Thin wall tubing is for tight spots, but thick tubing is better for tough jobs.
Mistake | How to Avoid |
|---|---|
Tubing too large | Measure carefully and check shrink ratio |
Tubing too small | Make sure expanded diameter is big enough |
Wrong shrink ratio | Match ratio to object shape and size |
Poor measurement | Use calipers and check both diameters |
Wrong wall thickness | Pick based on how much protection you need |
Note: Careful measuring and knowing shrink ratios help you avoid these mistakes.
Installation Tips
You can put on heat-shrink tube easily if you follow these tips:
Pick the right tubing. Measure the diameter and choose tubing with a pre-shrink diameter no more than 15% bigger than your wire or part.
Use the right tools. A heat gun or oven gives even heat. Sharp scissors help you cut the tubing neatly.
Clean the surface. Wipe wires and connectors so the tubing sticks well.
Measure and cut the tubing. Add 10-15% to the length for shrinkage.
Put the tubing in the right spot. Make sure it covers all areas and goes past connection points.
Heat the tubing evenly. Move the heat gun in a circle. This helps the tubing shrink smoothly and not get damaged.
Check your work after heating. Look for a tight fit, smooth surface, and good insulation.
Callout: Putting on heat shrink tubing the right way keeps your electrical project safe and working well.
You can use thin wall heat shrink tube for many jobs. It is good for insulation, bundling, and protecting wires. If you pick the right tubing and install it the right way, your wires will stay safe and neat.
You can make your electrical projects safer and more reliable by picking the right size, material, and use for thin wall heat shrink tubing. This helps protect wires from scratches, chemicals, sunlight, and water. Use the checklist and tips to stop mistakes and get a tight fit. Before buying, look at what your project needs, see what the supplier offers, and check for safety certifications. Choosing carefully keeps your wires neat, safe, and working for a long time.
FAQ
What is the main use of thin wall heat shrink tubing?
You use thin wall heat shrink tubing to insulate and protect wires. It also helps you bundle cables and mark wires with colors. This tubing works well in tight spaces.
How do I know what size heat shrink tubing to buy?
Measure the largest part of your wire or connector. Pick tubing with an expanded diameter about 25% bigger. Check the shrink ratio to make sure it fits tightly after shrinking.
Can I use a hair dryer to shrink the tubing?
You can try a hair dryer, but it may not get hot enough. A heat gun works better. It gives you even heat and a smooth finish.
Is thin wall heat shrink tubing safe for outdoor use?
Many types resist water, sunlight, and chemicals. Check the product label for UV and weather resistance. Polyolefin tubing often works well outside.
What happens if I pick the wrong size tubing?
If the tubing is too small, it will not fit. If it is too big, it will not grip tightly. Always measure first for the best results.
See Also
Selecting The Ideal Ultra-Thin PET Heat Shrink Tubing
Applications Of Heat Shrink Tubing For Electrical Wire Insulation
A Comprehensive Guide To Selecting Proper Heat Shrink Tubing Size

© Copyright 2024 My First Blog - All Rights Reserved.