Essential Tips for Using High-Temperature Shrink Tubing

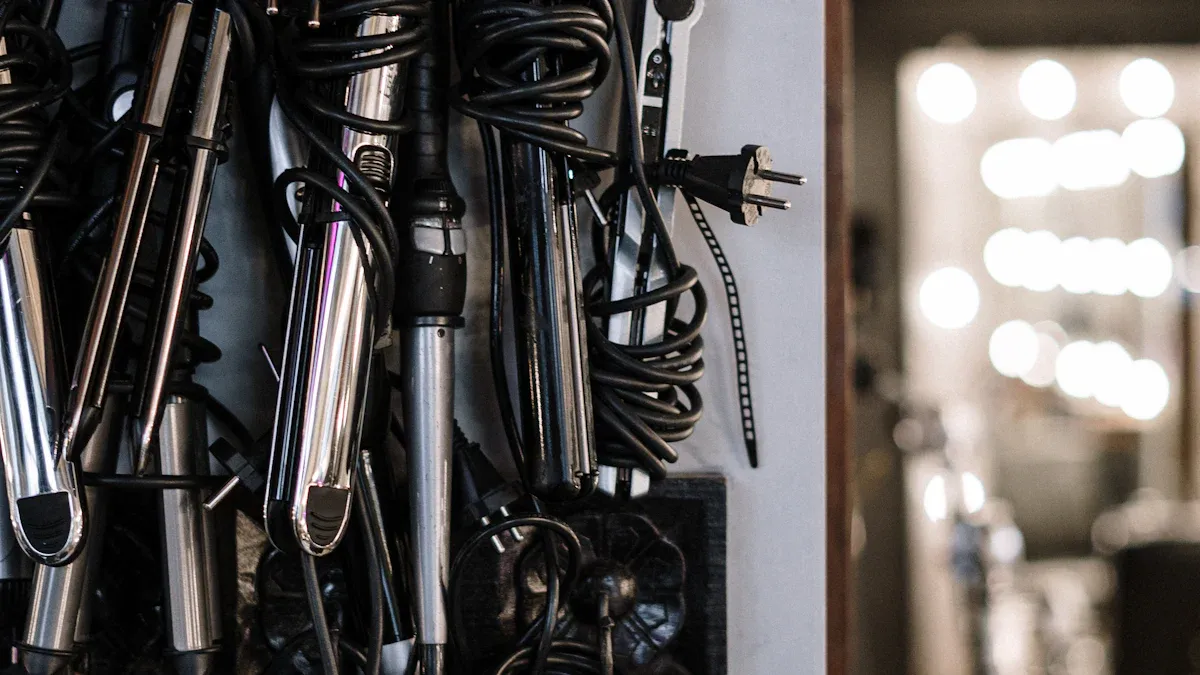
High-temperature shrink tubing is important for insulation and protection. It helps keep wires and parts safe from heat, scratches, and chemicals. More people are using this tubing, and its market is growing fast. It is expected to grow from $1.2 billion in 2024 to $2.1 billion by 2033. Industries like airplanes and cars use it a lot. To get the best results, follow good practices. Choosing the right tubing and using it correctly makes it work better and last longer.
Key Takeaways
Pick the correct size of high-temperature shrink tubing. Measure the item and choose tubing a bit smaller for a snug fit.
Pick the right material for your purpose. Different materials handle heat and chemicals differently.
Clean surfaces before adding the tubing. This helps it stick well and insulate better.
Use a heat gun properly to shrink evenly. Move the gun around to stop overheating or harming the tubing.
Try adhesive-lined tubing for more protection. It seals tightly to keep out water and dirt.
Selecting the Right High-Temperature Shrink Tubing
Picking the right high-temperature shrink tubing is very important. It helps with insulation, protection, and lasting durability. You need tubing that fits your specific needs because each type has different benefits. Below are some tips to help you choose the right tubing.
Choosing the Correct Size and Fit
Getting the right size of tubing is key for good performance. The tubing should be a bit smaller than the item it covers. When heated, it shrinks tightly around the object. Follow these steps to pick the right size:
Measure the wire or part you want to cover.
Pick tubing with a shrink ratio that fits both the starting size and final fit. For example, a 2:1 ratio means the tubing shrinks to half its original size.
Leave 20-30% extra space inside for easy use and full coverage.
Correct sizing stops over-shrinking, which can cause damage or poor insulation. It also helps organize wires neatly and securely.
Tip: Remember, tubing shrinks 5-7% in length when heated. Plan for this to avoid uncovered spots.
Selecting the Best Material for Your Application
The material of heat shrink tubing affects how well it works. Different materials resist heat, chemicals, and scratches in different ways. Here are some common materials and their uses:
FEP (Fluorinated Ethylene Propylene): Great for chemical resistance in tough environments.
PVC (Polyvinyl Chloride): A flexible choice for everyday uses.
PET (Polyethylene Terephthalate): Strong and works well in extreme conditions.
For very high temperatures, polyimide heat-shrinkable tubes (PIHST) are a good option. They handle temperatures from -196°C to 295°C, making them perfect for industries like aerospace and cars. Flame-resistant and clear materials add safety and make inspections easier.
Note: Think about the temperature range and where the tubing will be used. PIHSTs work better than regular tubing, which handles -40°C to -80°C.
Understanding Temperature Ratings and Limits
High-temperature shrink tubing must handle the heat of your application. Knowing the temperature limits helps the tubing work well in tough conditions. Here are some important standards and tests:
SAE AS23053: Covers types of insulating sleeves that shrink with heat.
MIL-DTL-23053E: A military standard for tubing that ensures strength and reliability.
Heat Shock Test: Checks if tubing stays strong after four hours of high heat. Cracks or melting mean it failed.
For long-term use, pick tubing that handles -196°C to 135°C. For short-term use, tubing rated up to 200°C may work. Always check the dielectric strength, which should be over 4,000 V/mil, for good insulation.
Tip: Use high-temperature shrink tubing for tough jobs like airplane and car wiring. It stays reliable even under extreme heat.
Preparation Tips for Using Heat Shrink Tubing
Getting ready the right way helps heat shrink tubing work best. Follow these easy tips to make sure it fits tightly and avoids problems.
Cutting Tubing to the Right Length
Cutting the tubing to the right size is very important. It stops problems like leaks or uneven seals. Always cut the tubing a little longer than needed. For example, add about 1/4 inch to allow for shrinking. Tubing can shrink 5-15% in length when heated.
Steps to measure correctly:
Use a caliper to check the object’s outer diameter.
Find the largest and smallest parts of the object.
Pick tubing with an expanded size 25% bigger than the largest part.
Make sure it shrinks enough to fit the smallest part tightly.
You can use regular scissors to cut the tubing. This makes it easy for anyone to do.
Planning for Shrinking During Use
Knowing how much the tubing shrinks is very important. For example, a 2:1 shrink ratio means it shrinks to half its size. This ratio works well for wires and connectors. Plan for the tubing to shrink 5-15% in length. Cutting it a bit longer ensures it covers everything after shrinking.
Tip: Use only 75% of the shrink potential. This avoids over-shrinking and keeps the fit just right.
Cleaning the Surface Before Use
A clean surface helps the tubing stick and insulate better. Dirt, grease, or water can stop it from shrinking evenly or staying in place. Before using the tubing, clean the surface with a lint-free cloth and mild cleaner. Let it dry completely.
For extra strength, try adhesive-lined tubing. It seals out water and protects against tough conditions.
Note: Cleaning the surface well helps the tubing work in high heat and rough environments.
How to Use a Heat Gun for Heat Shrink Tubing

Using a heat gun the right way is very important. It helps the heat shrink tubing shrink evenly and stick well. Follow these steps to do it correctly and avoid mistakes.
Heating Evenly for Best Results
Even heating makes the tubing shrink the same everywhere. Hold the heat gun at the same distance from the tubing. Move it side to side instead of staying in one spot. This stops overheating, which can ruin the tubing.
To get good results:
Use a strong heat gun made for heat shrink tubing.
Start heating at one end and move to the other. This keeps air from getting trapped inside.
Test on a small piece first to check the shrink quality.
If you use PTFE or PET tubing, even heating is extra important. Ovens can heat evenly, but heat guns are better for big jobs.
Tip: Keep moving the heat gun to avoid overheating or damaging the tubing.
Staying Safe While Using a Heat Gun
Safety is very important when using a heat gun. Holding it too close can overheat the tubing. This can make it brittle, change its color, or melt it. Most PET tubing needs 150°C to work well. Too much or too little heat can ruin it.
Follow these safety tips:
Keep the heat gun at least six inches away.
Work in a place with fresh air and no flammable items.
Let the heat gun cool before putting it away.
Note: Always read the instructions for your heat gun and tubing to use them safely.
Avoiding Mistakes When Shrinking Tubing
Mistakes can ruin the tubing or make it not work well. A common mistake is using tubing that is too tight for the wires. This can make the tubing split when it shrinks.
To avoid problems:
Check the tubing's shrink ratio to make sure it fits.
Don’t overheat—keep the heat gun moving and at a safe distance.
Train workers to use the heat gun the right way.
By following these tips, you can make the tubing fit well and look professional.
Reminder: Never leave a hot heat gun alone. It can be dangerous.
Advanced Tips for Using High-Temperature Shrink Tubing
Benefits of Adhesive-Lined Tubing for Extra Protection
Adhesive-lined tubing gives strong protection in tough conditions. It has two layers: a polyolefin outer layer and an adhesive inner layer. When heated, the adhesive melts and fills gaps. This creates a tight seal that blocks water, dirt, and other harmful things.
The two layers make it strong and reliable. The outer layer adds strength, and the adhesive layer keeps the seal secure. This tubing works well for jobs needing extra safety, like car wiring or outdoor setups. It protects parts from harm and helps them last longer.
Tip: Clean the surface well before using adhesive-lined tubing. This helps the adhesive stick better and seal tightly.
Using Color Coding for Better Organization
Color coding helps organize wires and parts easily. High-temperature shrink tubing comes in many colors. You can match colors to wires or circuits for quick identification.
For example, use red tubing for positive wires and black for negative ones. This lowers mistakes and saves time during repairs. Color coding also makes your project look neat and professional.
Note: Pick colors that stand out from the background for easy visibility.
Handling Sharp Edges to Prevent Tears
Sharp edges can tear heat shrink tubing and ruin the seal. Check the object’s surface before adding tubing. Use sandpaper or a file to smooth sharp edges. This helps the tubing fit tightly without ripping.
If you can’t smooth the edges, use heat shrink tape for extra protection. Wrap the tape around sharp spots to create a cushion. This helps the tubing shrink evenly and stay in place. Make sure the tape is secure so it doesn’t move while shrinking.
Reminder: These steps stop damage and make your heat shrink tubing last longer.
Using high-temperature shrink tubing starts with picking the right type. Clean surfaces and plan for shrinking to make it fit well. Heat it evenly with proper tools to avoid damage.
These tips help you get flexible, thin tubing that covers well. Polyolefin tubing shrinks a lot and works in cooler temperatures safely.
Follow these steps to keep your projects safe and lasting longer. Use these ideas now for strong and neat results!
FAQ
What is heat shrink tubing used for?
Heat shrink tubing keeps wires and connectors safe from harm. It blocks heat, water, and chemicals. You can also use it to tidy up cables and make them last longer in tough conditions.
How do you choose the right size of tubing?
Measure the size of the item you want to cover. Pick tubing with a shrink ratio that matches both the starting and final sizes. Leave some extra room to ensure full coverage.
Can you use a regular hair dryer instead of a heat gun?
A hair dryer might work for small tasks but isn’t hot enough for high-temperature tubing. A heat gun gives better heat and more reliable results.
How do you prevent tubing from tearing during application?
Make sharp edges smooth before adding the tubing. If smoothing isn’t possible, wrap heat shrink tape around the edges. This stops tears and helps the tubing fit tightly.
Is adhesive-lined tubing better than regular tubing?
Adhesive-lined tubing gives extra protection by sealing out water and dirt. It’s great for outdoor or heavy-duty jobs. Regular tubing is fine for simple insulation tasks.
See Also
Key Advice for Effective Use of FEP Shrink Tubing
Applications of Heat Shrink Tubing for Electrical Wire Insulation
Important Considerations for Selecting FEP Shrink Tubing
How to Choose FEP Autoclavable Heat Shrink Tubing
Comprehensive Steps for Determining the Right Shrink Tubing Size

© Copyright 2024 My First Blog - All Rights Reserved.