Step-by-Step Guide to Applying Ultra Thin Wall Heat Shrink Tubing

You can use ultra thin wall heat shrink tubing for many jobs. Some usual uses are bundling parts, masking for coatings, making catheter tips, and electrical insulation. This step-by-step guide helps you stay safe and get a good result. You feel more confident as you follow each step.
Key Takeaways
Get the tools you need like a heat gun, gloves, and scissors before you start. This keeps you safe and helps you do a better job.
Pick the right size heat shrink tubing by measuring your wires carefully. The right size stops leaks and gives strong insulation.
Check your work when you finish for tight fits and smooth surfaces. This makes sure the electrical insulation works well and keeps your connections safe.
Materials Needed and Preparation
Essential Tools for Heat Shrink Tubing
Before you start, gather all the tools you need. You want to work safely and get the best results. Here are the most important items:
Heat gun or oven for applying even heat
Heat-resistant gloves to protect your hands
Sharp scissors or a tubing cutter for clean cuts
Ruler or caliper for accurate measurement
Cleaning materials like alcohol wipes
These tools help you handle heat shrink tubing with care and precision.
How to Choose the Right Heat Shrink Tubing
You need to know how to choose the right heat shrink tubing for your project. Follow these steps:
Select the largest size that fits your wires. This makes installation easier and gives you enough wall thickness.
Make sure the tubing shrinks by at least 20% but keeps about 10% of its original size after shrinking.
Remember that the tubing may shrink in length by about 15%. Measure your wires and cut the tubing a bit longer.
Check if the tubing meets standards like UL, CSA, or ASTM for electrical safety.
This process helps you pick the best ultra thin wall heat shrink tubing for your needs.
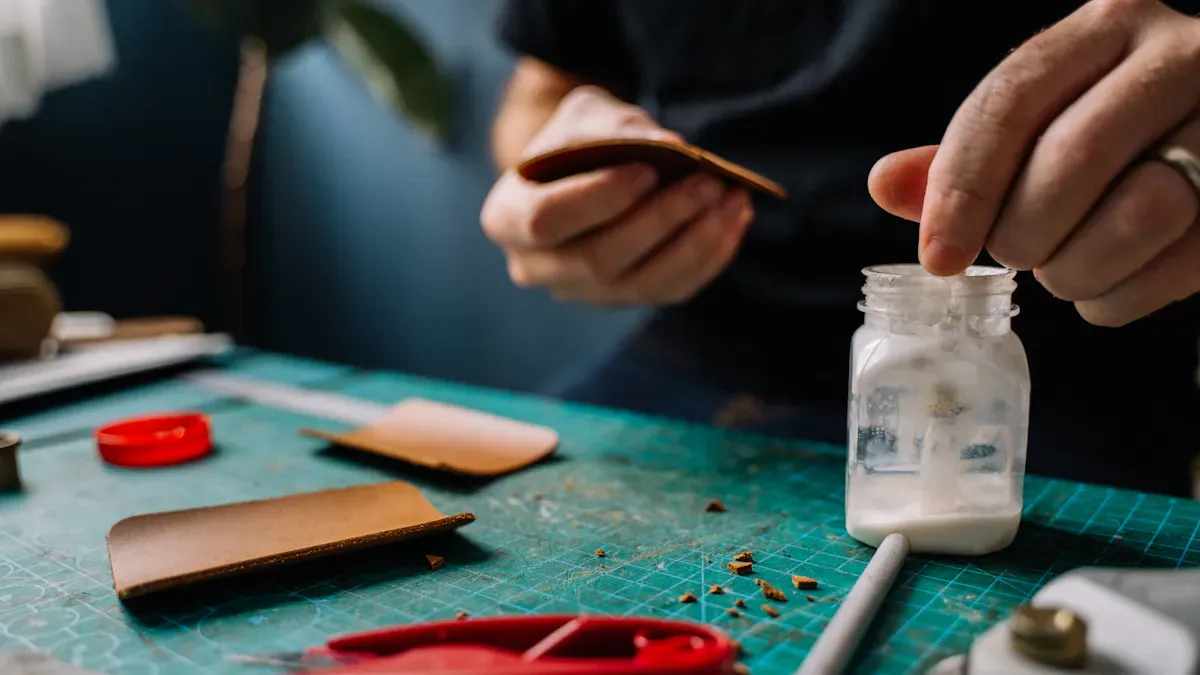
Preparing Wires for Application
Clean wires give you a secure fit. Use alcohol wipes to remove dirt, oil, or old insulation. Cut the wires to the right length. Make sure the ends are smooth and free from sharp edges. Slide the tubing over the wires before you apply heat. This step ensures the tubing shrinks evenly and grips the wires tightly.
How to Apply Ultra Thin Wall Heat Shrink Tubing
Cutting and Sliding on the Tubing
You want to start by measuring the tubing to fit your wires. This step helps you get a tight fit and strong electrical insulation. Follow these steps for best results:
Measure the diameter of the largest and smallest parts of your wires. Use calipers for accuracy. If you do not have calipers, a ruler or measuring tape works.
Check a heat shrink size chart. Pick a tubing size that is about 25% larger than the biggest part of your wire. This makes it easy to slide the tubing over the wire.
Make sure the shrunk diameter will be just smaller than the smallest part of your wire. This ensures a secure grip.
Cut the tubing a little longer than the area you want to cover. Tubing can shrink in length by about 15% during application.
Here is a quick reference table for recommended tubing sizes:
Wire Size (AWG) | Wire Diameter (mm) | Min. Supplied ID (mm) | Max. Recovered ID (mm) | Recommended Size (inch) |
|---|---|---|---|---|
20 – 18 AWG | 0.8 – 1.0 | 1.2 | 0.6 | 1/16″ or 3/32″ |
16 – 14 AWG | 1.3 – 1.6 | 2.0 | 1.0 | 1/8″ |
12 – 10 AWG | 2.0 – 2.6 | 3.2 | 1.6 | 3/16″ or 1/4″ |
8 AWG | 3.3 | 4.0 | 2.6 | 1/4″ |
6 – 4 AWG | 4.1 – 5.2 | 6.4 | 3.3 | 3/8″ or 1/2″ |
2 – 1/0 AWG | 6.5 – 8.3 | 9.5 | 5.2 | 3/4″ |
After you cut the tubing, slide the tubing over the wire before you apply heat. Make sure the tubing covers the area you want to protect or repair damaged insulation.
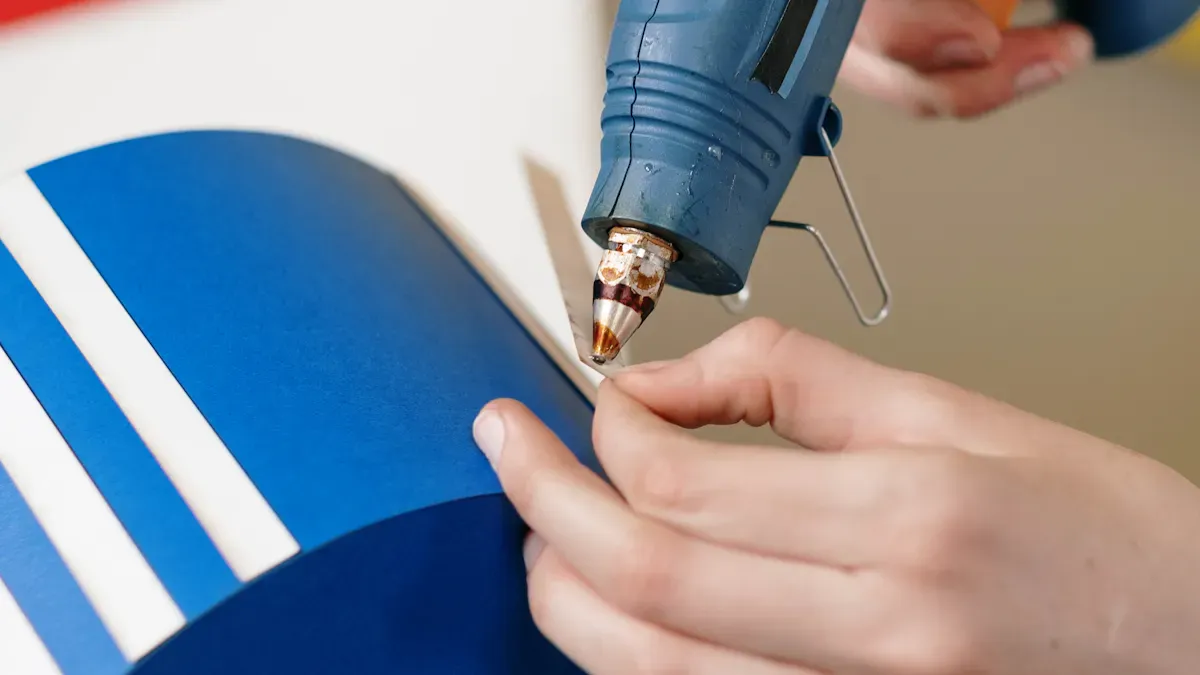
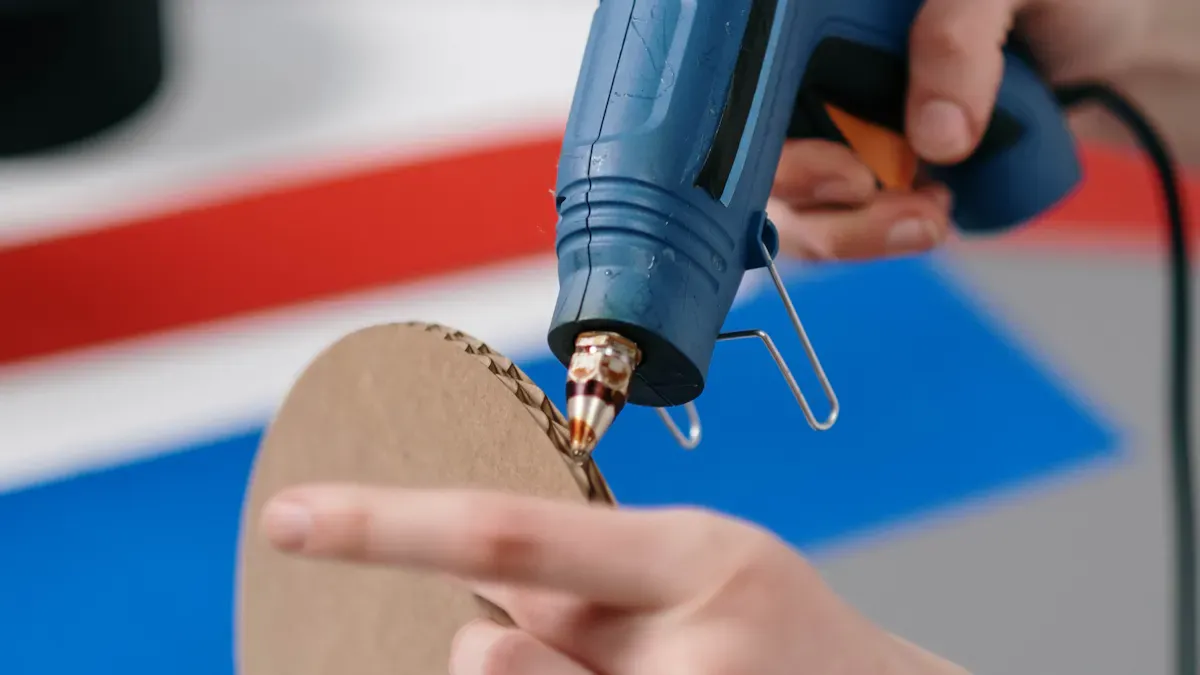
Apply Heat Shrink Tubing Evenly
You need to use a heat source, such as a heat gun, to shrink the tubing. The way you heat the tubing affects the final result. Here are some best practices for using heat shrink tubing:
Move the heat gun slowly along the tubing. Do not stay in one spot.
Rotate your wire or project as you heat it. This helps you heat the tubing evenly.
Start heating from the center of the tubing and move toward the ends. This method pushes air out and prevents air bubbles or bird-caging.
To prevent air bubbles or 'bird-caging,' start heating from the center of the tube and move toward the ends. This pushes the air out as the material contracts.
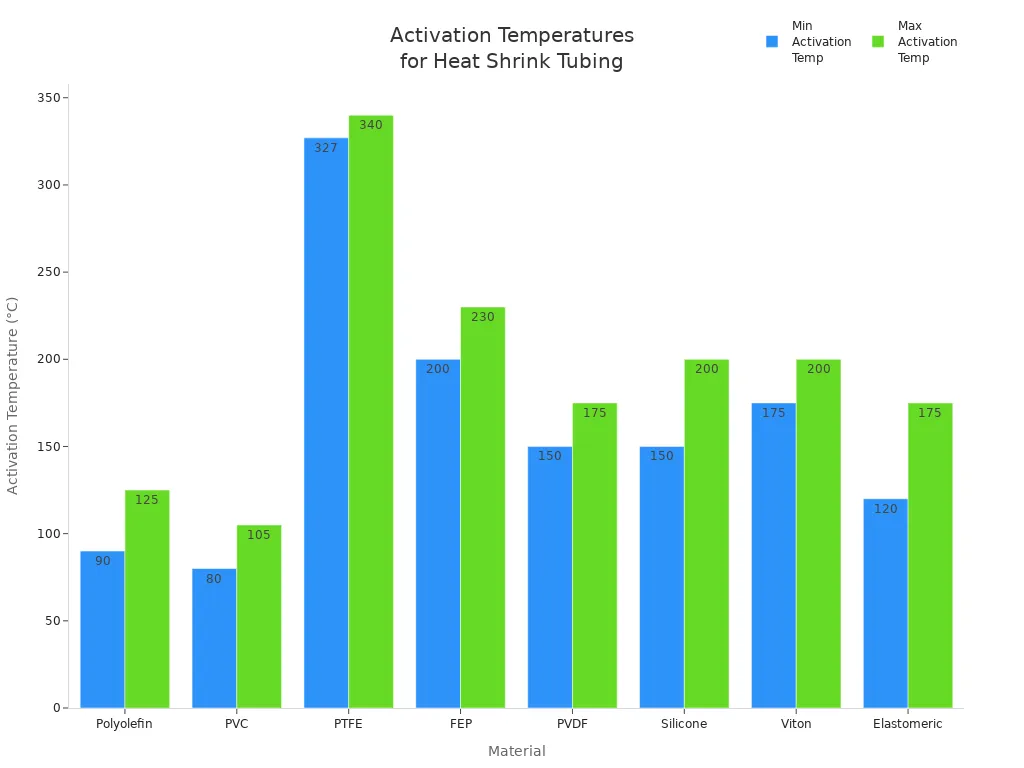
The temperature you need depends on the tubing material. Here is a table with common materials and their activation temperatures:
Material | Shrink Activation Temperature (°C) |
|---|---|
Polyolefin | 90 – 125 |
PVC | 80 – 105 |
PTFE | 327 – 340 |
FEP | 200 – 230 |
PVDF | 150 – 175 |
Silicone | 150 – 200 |
Viton | 175 – 200 |
Elastomeric | 120 – 175 |
You want to heat the tubing evenly. This step helps you avoid wrinkles, melting, or discoloration. Even shrinking gives you a smooth finish and strong protection for your wires.
Safety Tips for Using Heat Shrink Tubing
When you apply heat shrink tubing, safety comes first. Heat guns and other heat tools can cause burns or injuries if you do not use them carefully. Here are some important safety tips:
Keep the heat gun about 4 inches away from the tubing. This prevents overheating and lets air flow.
Move the heat gun back and forth. Do not hold it in one spot.
Turn your project as you heat it. This ensures even heat distribution.
Wear heat-resistant gloves and other personal protective equipment. This reduces the risk of burns.
Do not overheat the tubing. Overheating can cause material degradation, brittleness, discoloration, or even melting.
Do not hold the heat gun in one spot too long. This can damage the tubing.
Avoid overheating, as it can weaken the tubing and cause cracks or splits.
If you follow these practices, you can properly use heat shrink tubing and stay safe during your diy projects.
Inspecting the Finished Insulation
After you finish shrinking the tubing, inspect your work. Good inspection ensures your electrical insulation is strong and reliable. Here is what you should check:
The tubing should fit tightly around the wires with no gaps or air bubbles.
The surface should look smooth and even, with no wrinkles or bird-caging.
The tubing should not show signs of melting, discoloration, or brittleness.
The ends of the tubing should grip the wire firmly to prevent moisture from entering. This helps with protecting against moisture and keeps your electrical connections safe.
Industry standards, such as UL224, require the tubing to pass tests for tensile strength, elongation, thermal shock resistance, and electrical pressure resistance. You do not need to perform lab tests at home, but you should make sure the tubing feels secure and looks professional.
If you follow these steps, you will know how to use heat shrink tubing for electrical insulation, repair damaged insulation, and get a professional result every time.
Troubleshooting and Final Checklist
Common Issues with Heat Shrink Tubing
Sometimes, you can have problems with heat shrink tubing. Knowing these problems helps you fix them and keep your wires safe. Here are some things that can go wrong and how to solve them:
Picking the wrong size tubing can cause leaks or loose spots. Always measure your wires before you start working.
If you use too much heat, the tubing can melt or change color. This makes the tubing weak and not safe for your wires. Hold the heat gun at the right distance and keep it moving.
If you do not heat the tubing all over, it can be thick in some places and thin in others. This can make the tubing loose or leave gaps. Turn your wires and move the heat gun in circles to shrink the tubing evenly.
Sometimes, the tubing does not hold the wires tightly. Pick the right size and cut the tubing a little longer so it shrinks enough.
Tip: Always look at the tubing after you finish shrinking it. If you see any loose spots or gaps, you can heat it again or use new tubing to get a tight fit.
Final Inspection Checklist
When you finish putting on heat shrink tubing, use this checklist to make sure your work is safe. This helps you know your wires are protected and the insulation will last.
Test Type | Purpose | Expected Outcome |
|---|---|---|
Tensile Strength Test | See if tubing is strong | Tubing does not tear or stretch |
Seal Test | Check if tubing covers well | No leaks or open spots |
Heat Resistance Check | Make sure tubing handles heat | Tubing stays in good shape |
Think about where your wires will be used. Check for heat, water, and chemicals. Make sure the tubing can handle the electricity and any bending or shaking. If you follow this checklist, your wires will have a tight fit and strong insulation every time.
You will do a great job if you follow each step. First, measure the biggest part of your wire to make sure the tubing fits. Next, use the correct heat so the tubing shrinks evenly. Try not to let the tubing shrink too much so it stays strong. Picking good materials and using the right steps keeps your wires safe for a long time.
FAQ
How do you store ultra thin wall heat shrink tubing?
Keep tubing in a cool, dry place. Avoid sunlight and moisture. Use sealed bags or containers to protect the tubing from dust.
Can you use a lighter instead of a heat gun?
You can use a lighter, but a heat gun gives better control. A lighter may cause uneven shrinking or damage.
What should you do if the tubing does not shrink evenly?
Rotate the wire while heating.
Move the heat gun in circles.
Start heating from the center and work toward the ends.
See Also
A Comprehensive Approach to Selecting Heat Shrink Tubing Size
Key Guidelines for Effectively Utilizing FEP Heat Shrink Tubing
Selecting Optimal Ultra-Thin PET Heat Shrink Tubing for Your Needs
Navigating the Selection of FEP Autoclavable Heat Shrink Tubing

© Copyright 2024 My First Blog - All Rights Reserved.